
How to Blur Faces and License Plates in the Same Video
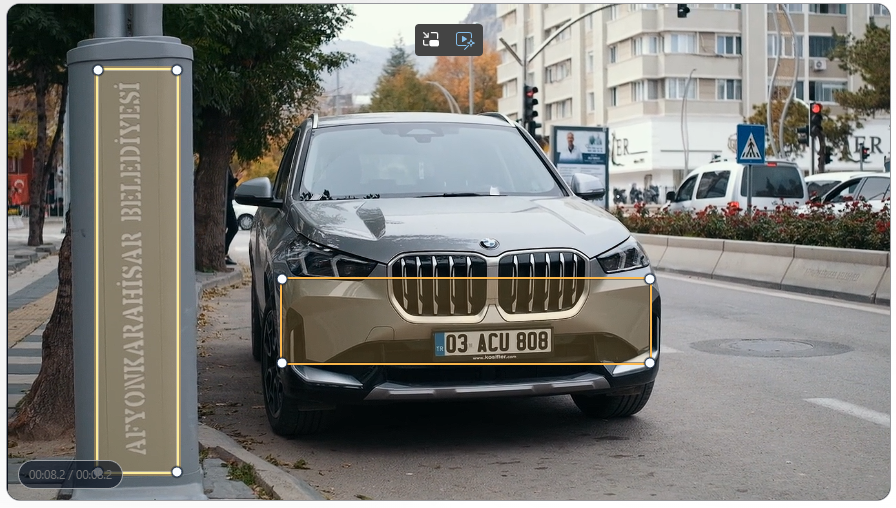
Blur the plates first, then process the faces
Use the dedicated plate and face tools in separate passes, reviewing the result after each export.
A reliable starting order
Videos recorded in traffic or public spaces can show both readable license plates and identifiable people. FaceBlurify handles these targets with dedicated tools, so anonymizing both requires two separate processing passes rather than one combined detection pass.
Start with the dedicated license plate tool: /en/tools/blur-license-plates-videos/
Start with a free, watermarked preview of up to 15 seconds. Check the detected plates and adjust the effect or sensitivity before exporting. A watermark-free export of your chosen video range requires sign-in and paid video credits; see video credit pricing. Review the full downloaded export before sharing. If you upload the first export to another tool for a second pass, that new export uses video credits again.
The two-pass workflow
- Upload the original clip to the license plate video tool.
- Choose Blur, Mosaic, or Black box and process the visible plates.
- Review moving vehicles, turns, reflections, distant plates, and low-light frames.
- Export the plate-anonymized result.
- Open the face video tool and upload that result as the input for the second pass.
- Choose blur-all or the selective identity workflow, depending on who should remain visible.
- Process the faces and review the final video from beginning to end.
Open the face tool for the second pass: /en/tools/blur-faces-videos/
Which pass should come first?
Starting with plates is a clear default for dashcam, delivery, parking, and street footage because it lets you review vehicle identifiers before concentrating on people. If faces are the main privacy risk, you can reverse the order. What matters is that the output from the first tool becomes the input to the second.
Each export can introduce some compression, so avoid unnecessary extra passes and review text, small plates, and distant faces carefully after the final export.
When to use blur-all or selective face blur
Use blur-all when everyone in the clip should be anonymized. Choose the selective workflow when a presenter, driver, or known participant should remain visible while other people are blurred.
Selective processing includes an analysis step and identity review. It does not turn the plate tool into a simultaneous face-and-plate detector.
Review checklist
- Check the first and last frames of the clip.
- Pause around camera movement, scene cuts, glare, and shadows.
- Look for plates in mirrors, windows, and the edges of the frame.
- Check small, partially covered, and side-facing faces.
- Confirm that the chosen effect remains strong after video compression.
- Listen for spoken names or other identifying information if audio is preserved.
Automatic detection reduces manual work, but it cannot guarantee that every identifier will be found. A final human review remains essential.
Related guides
- Blur license plates in dashcam video
- Blur license plates before uploading a video
- Face detection missed someone? Practical fixes
- Face blur versus full-body anonymization
FAQ
Does FaceBlurify detect faces and license plates in one pass?
No. Use the dedicated license plate and face tools as separate passes, then review the combined result.
Can I keep one person visible?
Yes. In the face-tool pass, use the selective workflow to choose which detected identities to keep or blur.
Does processing twice guarantee complete anonymization?
No. Detection can miss difficult frames, so review the final export carefully before sharing it.