
License Plate Blur Not Working? Fix Missed Moving Plates
Test plate detection before exporting
Use a free watermarked preview, compare the same scene, and review every visible plate before sharing.
Keep the test consistent
If license-plate blur is not working, first pause where the problem appears. An uncovered plate needs better detection or a manual correction; a plate already covered by a weak blur needs a stronger mask. Increasing blur strength cannot fix a frame where no mask was applied.
This guide covers missed, flickering and weak plate masks in dashcam clips, parking videos and moving-car footage. For the upload steps, start with the dashcam plate-blurring guide.
Identify the problem before changing a setting
Compare the original and processed video at the same timestamp. Look at the whole plate, including its edges, rather than judging the effect only during normal-speed playback.
| What you see | What to check first | Next step |
|---|---|---|
| No mask appears over a visible plate | Detection coverage | Compare the same scene at a higher detection sensitivity |
| The mask disappears briefly or trails a turning car | Coverage during movement | Review the frames before, during and after the gap; test higher sensitivity |
| The mask stays on the plate but characters remain recognizable | Effect and strength | Increase strength or try Black box, then review coverage again |
| Headlights, signs or other objects are masked | Unwanted detections | Compare a lower sensitivity, while checking that real plates remain covered |
| The preview looks fine but a plate is exposed later | Preview versus export range | Inspect the rest of the video; a short preview cannot verify the full export |
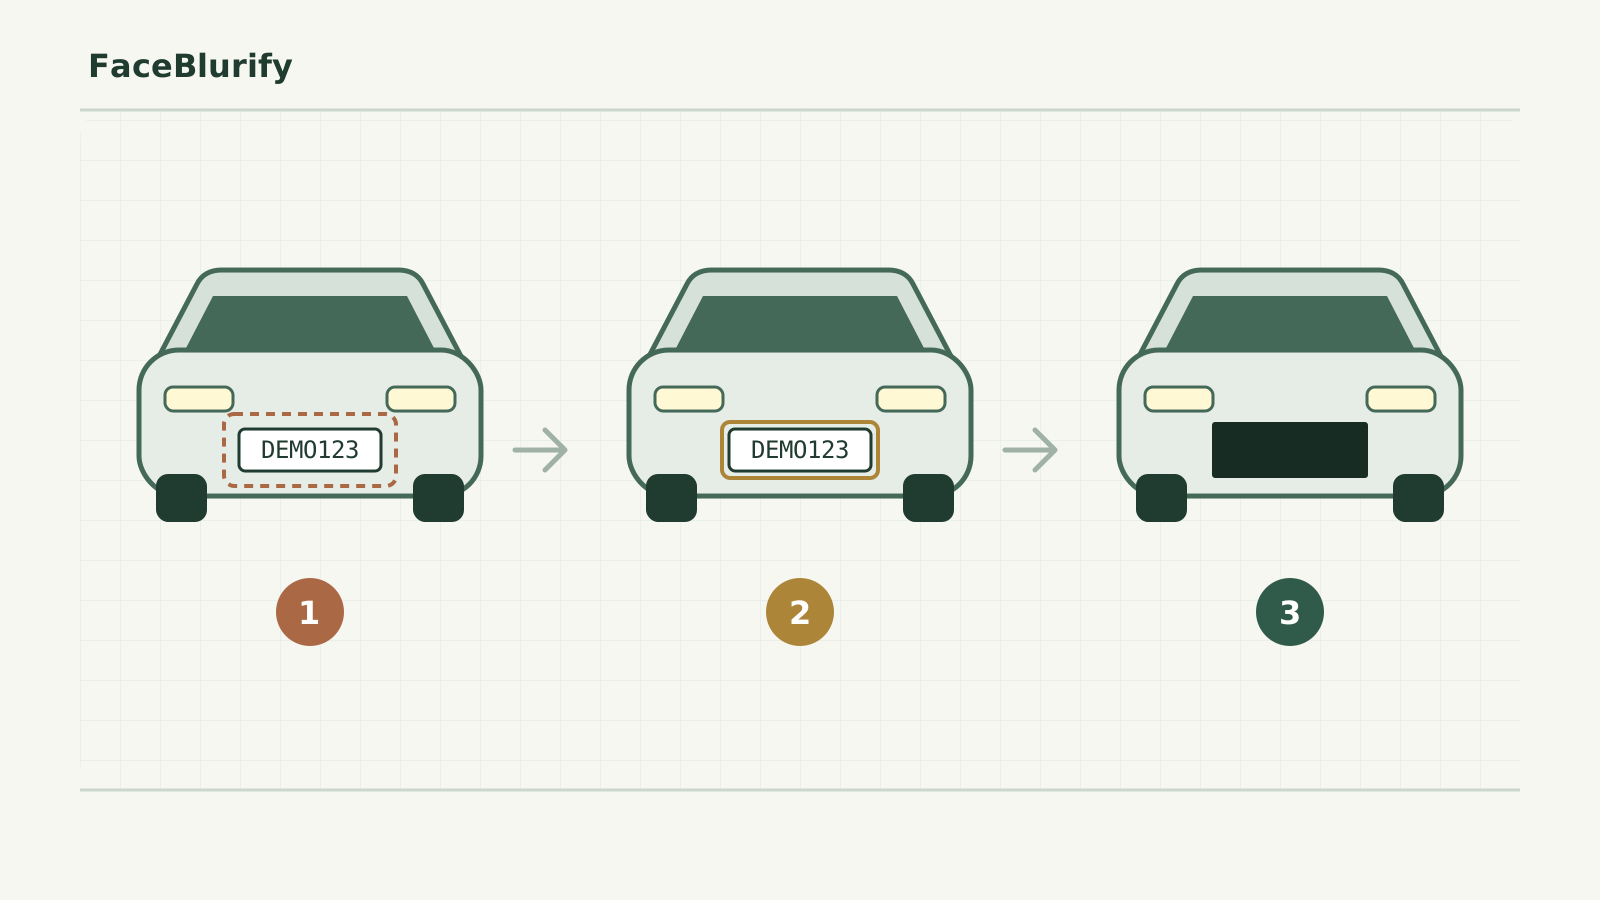
The illustration at the top explains these differences. It uses a fictional plate and is not a product-output comparison or detection benchmark.
Why moving plates can lose coverage
A plate changes size and shape as a vehicle approaches, turns or passes the camera. Motion blur, shadows, glare and another vehicle crossing in front of it can remove useful detail for part of the shot. A distant plate may occupy very few pixels even in a high-resolution video.
These are reasons to inspect the footage, not proof of the cause of a particular miss. Pause the original at the affected time and ask:
- Is the entire plate visible, or is a corner hidden?
- Are the characters stretched by motion or washed out by glare?
- Does the plate become much smaller or more angled?
- Is this the first frame after a cut, or the moment the car enters the image?
Motion-blurred plates are an active computer-vision research problem. That research is not a measurement of FaceBlurify's detection accuracy. A difficult original still needs review even when an automatic processing job finishes successfully.
Detection sensitivity and blur strength do different jobs
Detection sensitivity affects which regions the system treats as plates. FaceBlurify's automatic plate workflow has five levels, with Standard as the default. High and Very high inspect more frames and may take longer. Higher sensitivity may find additional plates, but it can also mask unrelated objects.
Strength changes the appearance of an effect on an area that has already been detected. It is useful when a blur or mosaic is visibly too weak. It does not make an undetected plate appear in the mask.
Black box covers the detected area with a solid mask. It still depends on that area covering the full plate for the entire relevant interval. Changing the effect does not, by itself, repair a detection gap.
Test a missed plate in FaceBlurify
Use the clearest original MP4 or MOV available. A copy saved from a social platform may contain less useful detail; enlarging that copy does not recreate detail lost from the original.
- Open the license plate video tool and upload the clip. The initial watermarked preview starts automatically and covers up to 15 seconds.
- Find the difficult moment. If it is outside the preview, use Scene to select a preview interval that includes it. Scene changes the preview interval; Trim controls the range you intend to export.
- Keep the effect and strength fixed while testing detection. Under Adjust, move Sensitivity from Standard to High when a visible plate is missed.
- Choose Apply & preview. Merely moving a control does not update the rendered result. Wait for the new preview before comparing it with the previous one.
- Check the same car at the same times. Look for both improved plate coverage and new masks on unrelated objects. If coverage is still inconsistent, compare Very high once, or move to the fallback below.
- Once coverage is acceptable, adjust the effect or strength if the mask is too weak. Apply the preview again and inspect the result.
Additional previews are limited. Use the same short scene and change one setting at a time so each comparison answers a useful question. Follow any limit message shown by the app rather than assuming repeated renders are unlimited.
The preview is free and watermarked. Exporting your selected range without a watermark requires sign-in and paid video credits; see video credit pricing. Review the selected range and credit requirement in the export panel before continuing. A new upload has its own export flow and can require additional credits.
A repeatable review for a passing car
Choose a short scene that includes the car entering, passing and leaving the frame. Keep that interval unchanged between preview attempts.

Watch the plate as the car moves through the shot. Check its edges and the frames between positions; one example does not establish coverage for an entire video.
| Checkpoint | What to inspect |
|---|---|
| First visible plate | The mask starts before any readable characters are exposed |
| Closest approach | The mask covers the plate's edges as it grows larger |
| Turn or camera movement | Coverage follows the changed position and angle |
| Temporary obstruction | The plate is covered again when it reappears |
| Last visible plate | The mask persists until the plate leaves the image |
These five checkpoints help locate problems; they are not a substitute for reviewing the frames between them. If a gap appears, inspect the surrounding frames in a video player or editor that supports frame stepping. Repeat the check for background vehicles, not just the largest car.
For example, if Standard misses a plate as the car turns, compare High on that same turn with the same effect. If the mask now stays present but the characters remain visible through it, the next test concerns strength or effect. This is a diagnostic example, not a promise that High will solve every turn.
When automatic detection still misses a plate
If the same plate remains exposed after a controlled sensitivity test, repeatedly increasing strength will not solve it. Choose a fallback that you can verify:
- Remove the affected portion when that moment is not needed in the shared video. Check the new start and end frames.
- Use a video editor with a manual mask and tracking or keyframes when the shot must be retained. Cover the whole plate, follow its movement, and inspect the transitions yourself.
- Keep the clip private until the correction is verified if you cannot confidently cover the plate throughout the shot.
FaceBlurify's automatic plate mode is separate from its face identity-selection workflow. Selecting individual faces or changing face-grouping settings will not correct a license-plate miss. If the video also contains identifiable people, consult the separate face-and-plate workflow and account for its additional export steps.
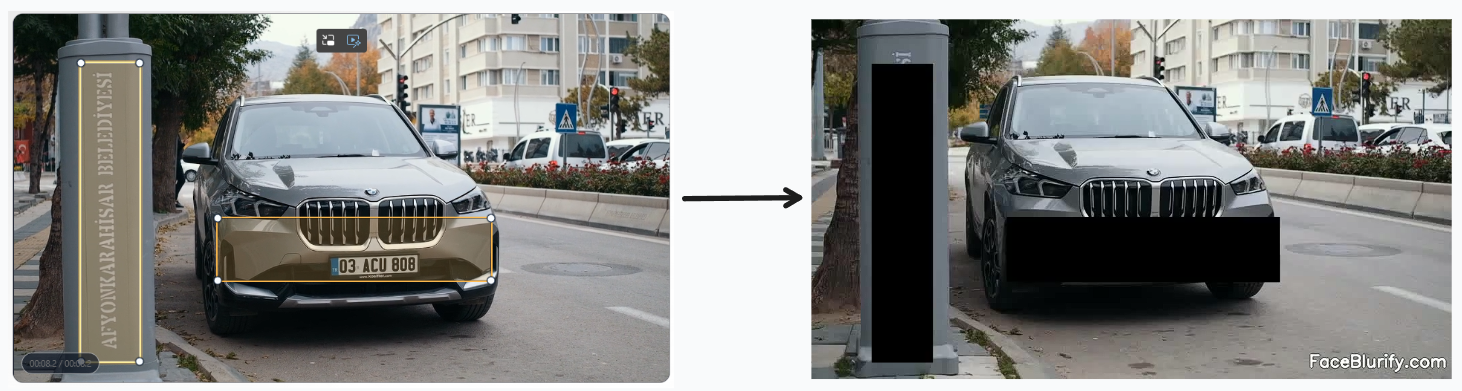
Example of manual masks: selected rectangles on the left, opaque masks on the right. Fixed regions do not track a moving plate; use an editor with tracking or keyframes when needed.
Review the full export before sharing
A successful 15-second preview verifies only the inspected preview interval. Open the downloaded export and check the entire range, including scene cuts, approaching vehicles, background traffic and the first and last frames. Confirm that you are viewing the processed download rather than the original file.
If your publishing platform recompresses the video, also review the uploaded version at normal size and paused at the difficult moments. Do not assume that a mask which looked acceptable in a small preview will remain adequate in every presentation. The pre-upload review checklist covers that final handoff.
Frequently asked questions
Why does the plate blur flicker?
First check whether the mask briefly disappears or only changes appearance. A missing or displaced mask is a coverage problem. A mask that stays in place but leaves recognizable characters is an effect-strength problem. Compare the same scene while changing one setting at a time.
Does Very high sensitivity guarantee that every plate is blurred?
No. It changes detection behavior and can increase processing time and unwanted detections. Small, obscured or difficult plates can still be missed. Review the complete result and use a manual correction or remove the affected portion when necessary.
Can a stronger blur fix a plate that was not detected?
No. Strength acts on the detected mask. For an uncovered plate, test detection sensitivity and then a verifiable fallback if coverage remains incomplete.
Is Black box enough to hide a moving plate?
A solid mask hides the area it covers. It must still cover the full plate in every relevant frame; a stronger effect cannot compensate for an absent or misplaced mask.