
Standard vs HD Video Export in FaceBlurify
Preview a face-blurred video
Review a difficult scene first, then check the range and quality in the export panel.
Use standard when up to 720p fits your destination. Choose HD when your source has more detail and you need up to 1080p for the surrounding scene. The automatic face and license plate tools use the same duration-based video credit rate for either quality.
What changes between standard and HD?
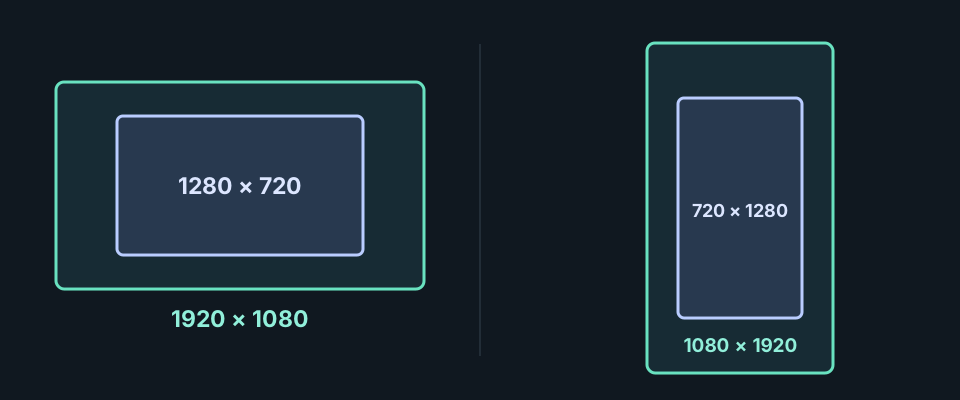
| Source orientation | Standard export fits within | HD export fits within |
|---|---|---|
| Landscape | 1280 × 720 | 1920 × 1080 |
| Portrait | 720 × 1280 | 1080 × 1920 |
These are maximum bounds. The export preserves the aspect ratio and does not upscale smaller sources. A 1920 × 1080 landscape source can export at 1280 × 720 in standard and 1920 × 1080 in HD. A 640 × 360 source stays 640 × 360 with either choice. Square and other aspect ratios also fit within the bounds.
HD preserves more available picture detail for sources above the standard bounds. It cannot recover detail already lost from a compressed copy or cover a face or plate missed by detection. Test the mask in a difficult scene first and review the downloaded result at its intended viewing size.
Choose HD for a clean export
- Open the automatic face tool or the license plate tool and upload your source. The free watermarked preview covers up to 15 seconds.
- Review the preview. Use Scene and Apply & preview to inspect another moment. Use Trim, when available, to set the range you want to export.
- Open the export panel with Export full video or Export selected clip. The HD · 1080p box starts off for a new automatic workflow. Check it for HD and sign in if prompted.
- Confirm the range, credits and audio choice before starting the paid export. Choosing HD by itself does not start an export. The free watermarked preview has its own resolution and does not switch to HD.
- Download the completed file. Check its resolution in a player or editor with file information, then review the full range for mask coverage and the intended sound.
These controls refer to the automatic preview and export panel. For individual face decisions, follow the separate selective face-blur workflow.
Make the choice for the file you need
- Short clip for chat or reference. Standard is a practical choice when the destination accepts 720p and small details outside the masks are unimportant.
- 1080p source with a detailed scene. Use HD if you need to preserve more detail outside the masked regions. Recheck faces, plates and other identifiers in the actual download before sharing.
- Low-resolution source. Start with the clearest copy you have. Switching on HD leaves a 640 × 360 source at the same dimensions.
- Two processing passes. If you need HD in the final copy, use the intended quality in each automatic pass. A standard first export discards detail that HD cannot restore on the second pass. Each clean export can use credits. See the face and plate workflow.
The range you export determines the duration billed. Review the video credit pricing before exporting.